Video sourced from the GAMEAY YouTube channel. © 2026 xiaoshi.
Step-by-Step Walkthrough
Room 1: Kitchen
Follow the prompts to open the drawer, take out the star, and pick up the wooden stick from the floor.
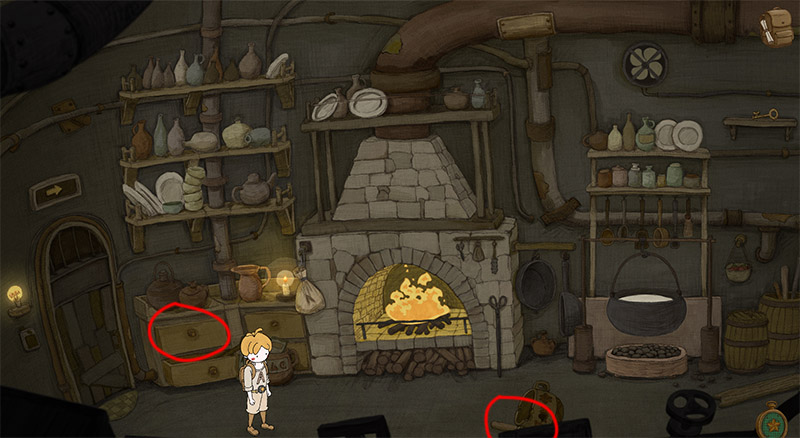
Used under fair use for commentary, criticism, and educational purposes.
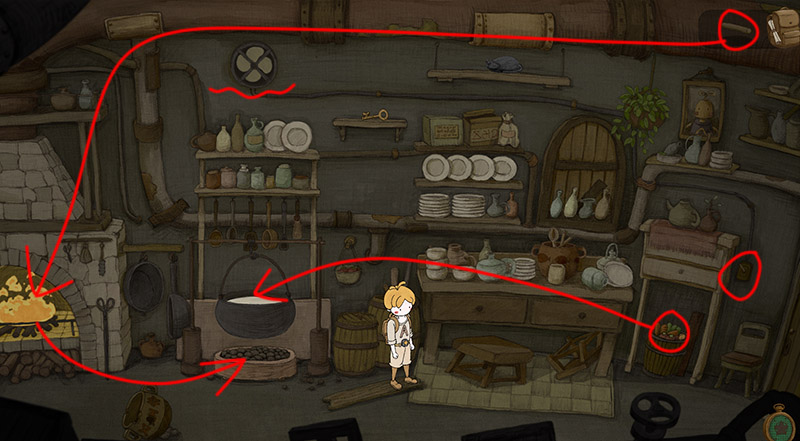
Go right, grab the vegetables from the bucket under the table, stand on the chair to turn off the exhaust fan, then step down.
Open your inventory, place the vegetables into the pot, light the wooden stick at the fireplace, and ignite the firewood underneath the pot.
Wait for steam to rise. After the rat knocks down the key, pick it up and insert it into the door to clear the level.
Room 2: Storage Room
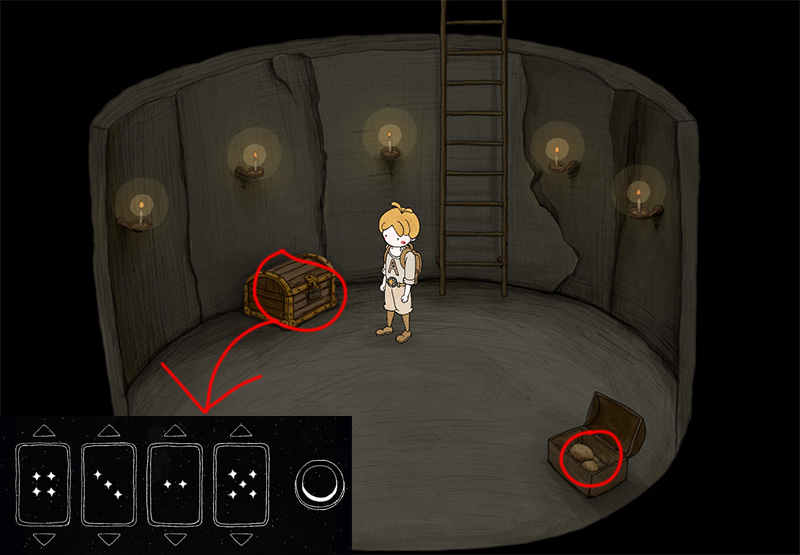
The highlighted boxes on the shelf hint at the code: 4-3-2-5. Head to the basement to open the chest for the star, then grab the potato from the crate on the right.
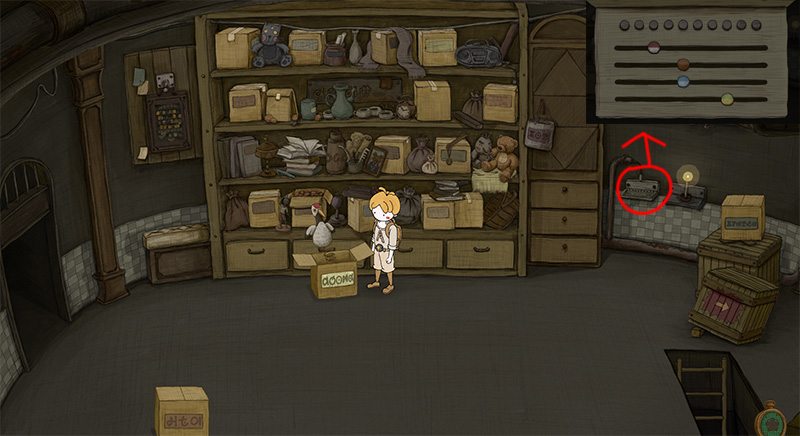
Leave the basement and return to the Storage Room. Open the control panel and adjust the sliders from top to bottom to 3-5-5-8 (the number of bird chirps in the box). Close the panel and wait for the basement door to shut, then proceed directly to the next room.
Room 3:Library
Pick up the wooden stick at the Library entrance. Place the potato from your inventory onto the table (you’ll hear a sound cue), and the printer will print out a code. Use the ladder to press the corresponding button on the bookshelf to open the first secret room and retrieve the hourglass.
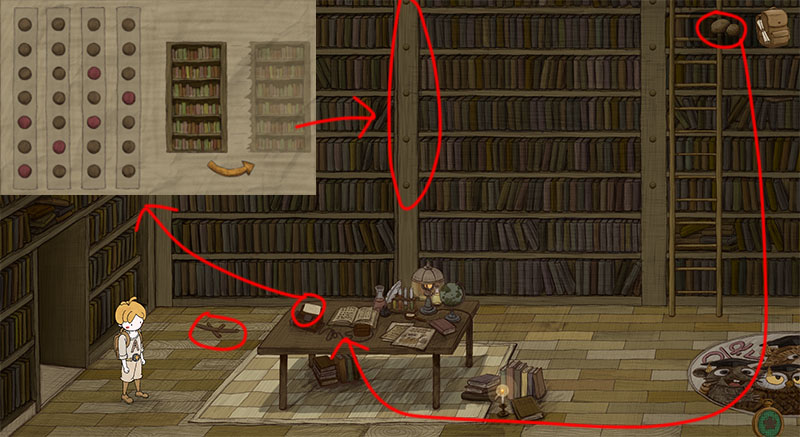
Head to the right side of the room, pick up the rope on the table leg, and combine it with the wooden stick in your inventory to repair the broken table leg.
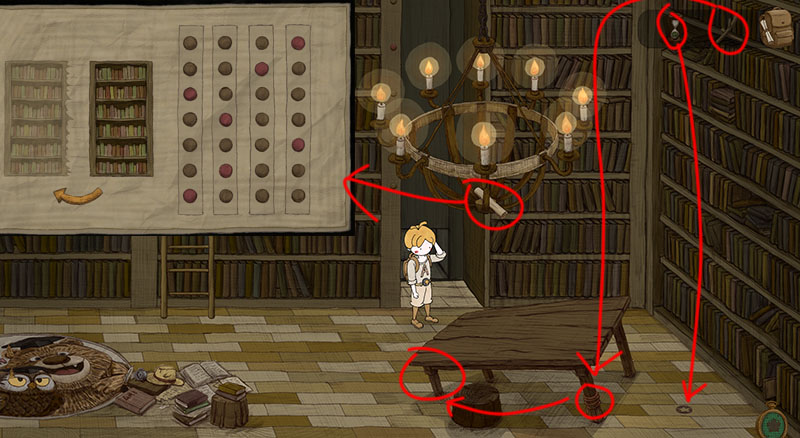
Place the hourglass on the star mark on the floor to the right of the table.
Stand on the table to retrieve the code paper from the chandelier. Following the clues on the paper, use the ladder to press the corresponding button on the bookshelf to open the second secret room door and make your exit.
Room 4: Elevator Room – 1F
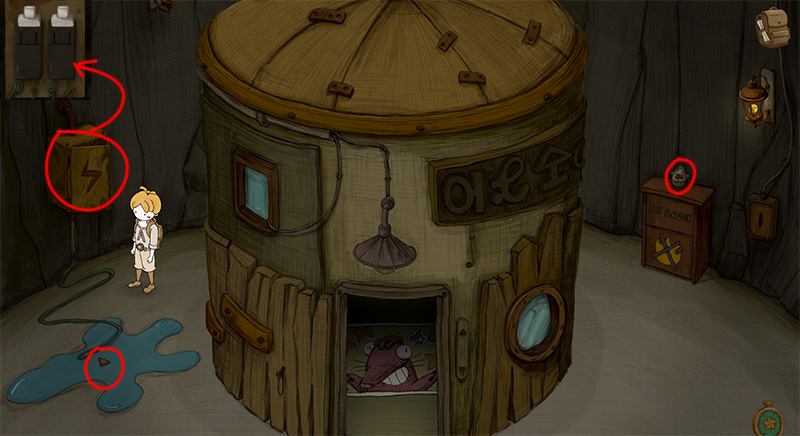
Head to the left side of the elevator, turn off the power, pick up the button on the floor, and restore the power. Then, go to the right side of the elevator to pick up another button. Install it into the elevator panel to activate the up button, and proceed to the next room.
Room 5: Elevator Room – 2F
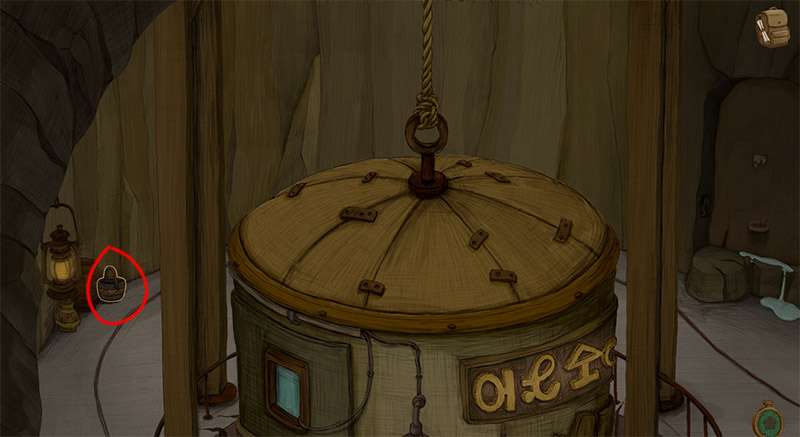
Pick up the bucket in the top-left corner outside the elevator room.
Exit the elevator and head right to the living room area to pick up two wooden sticks and a candle.
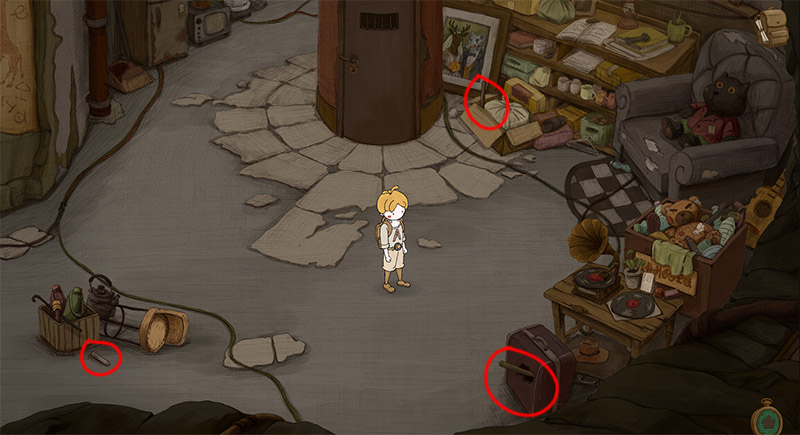
Place the bucket from your inventory under the dripping water.
Use your candle on the burning candle on the wall to light it.
Place the lit candle under the bucket to illuminate the mural, then pick up the key on the wall.
Take the key to the living room on the right side of the elevator, unlock the passage door, and go inside.
Room 6: Vertical Shaft
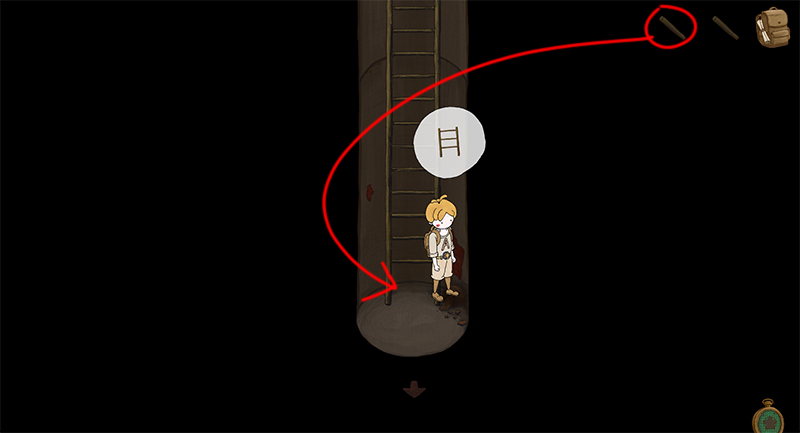
Use the wooden stick from your inventory to repair the ladder twice, then climb up the repaired ladder to exit.
Room 7: Town Square
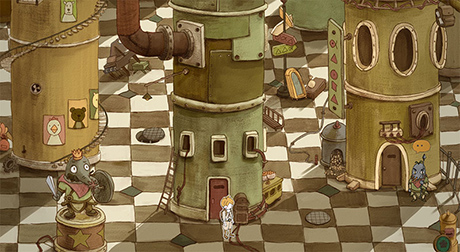
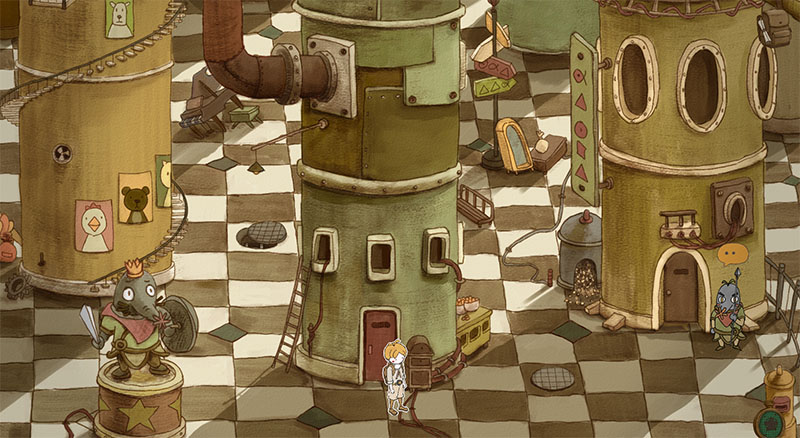
Upon reaching the square, the current DEMO comes to an end.
There are no further areas to explore here. Although you can interact with the guard, their dialogue appears as garbled characters, suggesting that a deciphering mechanism will need to be unlocked later to read it.
Note: This guide is based on the demo version of Asa’s Adventure. Features and content are subject to change in the full release.
About the Author