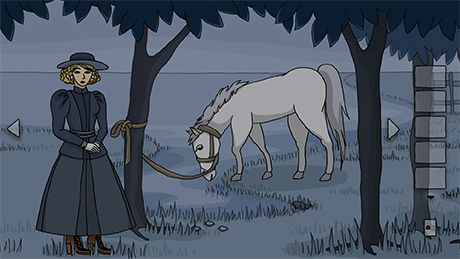
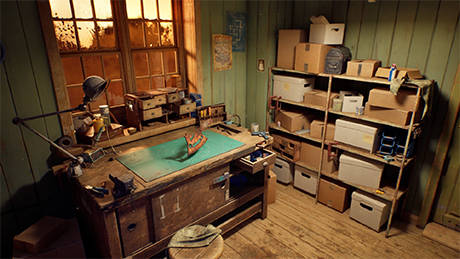
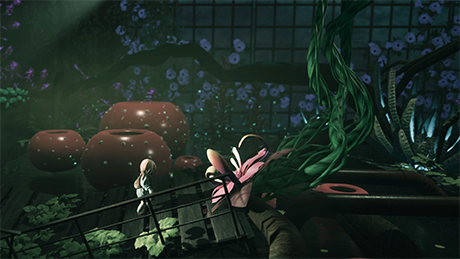
I stumbled across a preview for The Guardian of Nature on social media and was instantly hooked. I’ve always had a soft spot for story-driven puzzle games, but this one’s clean yet intricate hand-drawn art style—especially the beautifully detailed plant life in each scene—is absolutely stunning.
But let’s get down to business. Today, I’m bringing you the complete walkthrough for Chapter 1. The main guide below breaks down each puzzle using a mix of screenshots and text. If you prefer a more visual guide, I’ve also embedded a full video walkthrough at the very top of this post.
Since this is the opening chapter, the difficulty is pretty forgiving. The core focus here is just getting a feel for how to find and use items. As long as you wrap your head around how the game’s interactions work, you’ll breeze right through. Hope this guide makes your first steps into the game a breeze!
More Episodes
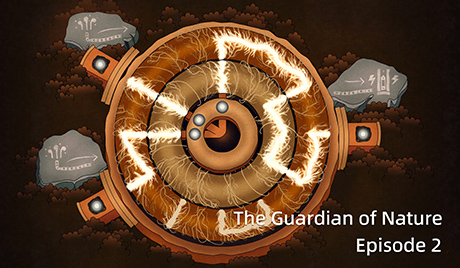
Episode 2:The Guardian of Nature Full Walkthrough: Episode 2 – Power Dial Puzzle Guide
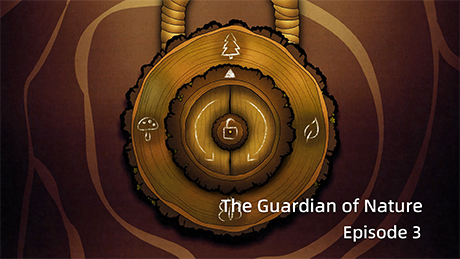
Episode 3:The Guardian of Nature Episode 3: Wooden Door Puzzle Solution
Episode 1 Walkthrough
Used under fair use for commentary, criticism, and educational purposes.
You can pick this up from the ground shortly after the game starts. It’s a dry, bulbous fungus with tiny cracks on its surface.
Once you enter the room, simply drag it from your inventory to the designated spot on the screen to complete the interaction.
Note: All items going forward use this same drag-and-drop mechanism, so I won’t repeat this step.
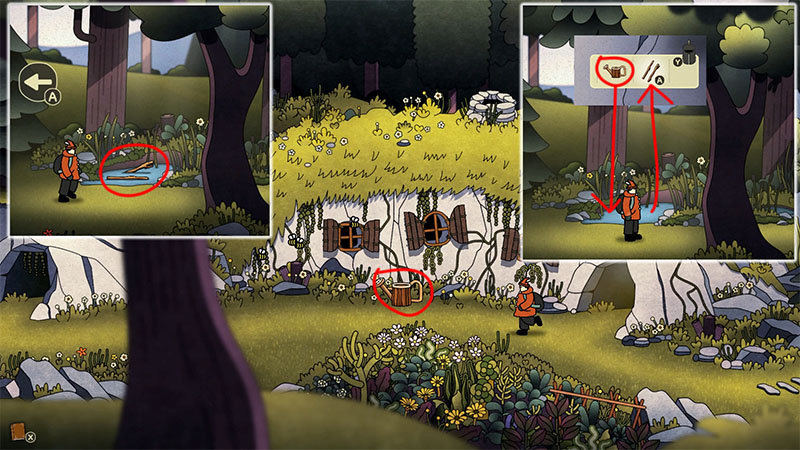
First, grab the watering can from the scene.
Next, head over to the stream on the right side of the screen and pick up the wooden stick submerged in the water.
Finally, drag the watering can to the spot where you just found the stick to fill it with water.
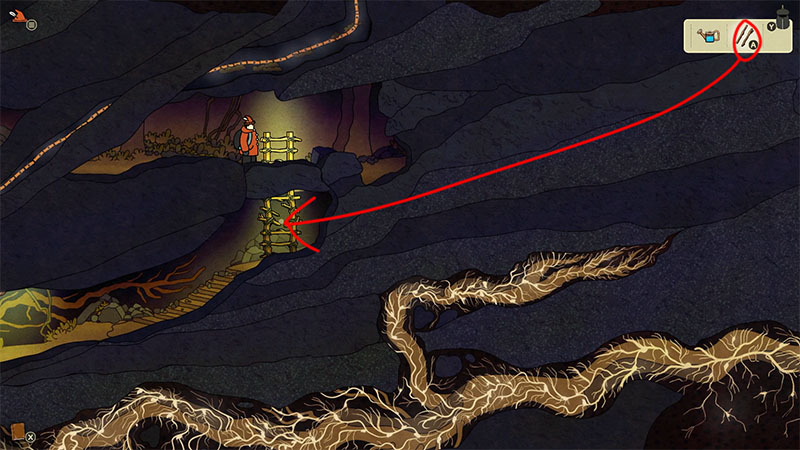
Once you reach the underground cave, the ladder is broken. Just use the wooden stick you picked up earlier to repair it, and you’ll be able to keep climbing down.
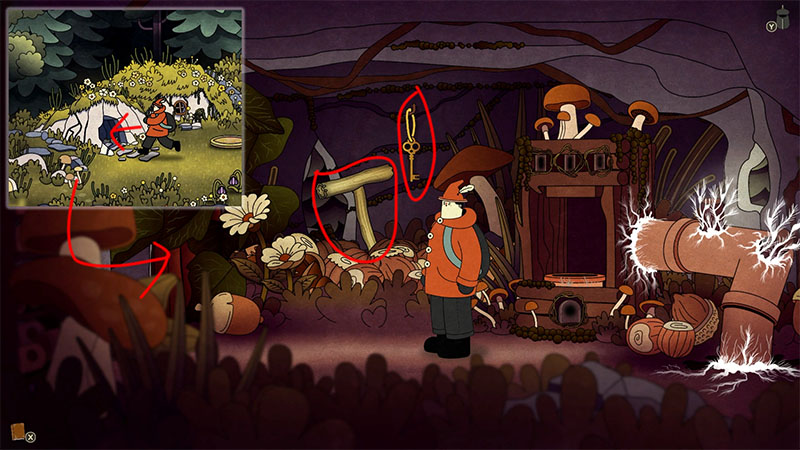
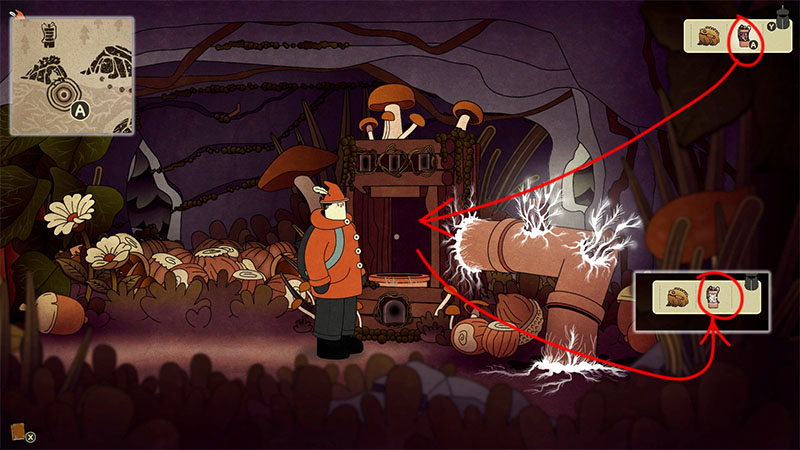
Head into the leftmost cave and push aside the squirrel’s food stash. You’ll find a wooden lever and a key hidden right behind it.
Water the flowers about three times until you can’t water them anymore (if your watering can is empty, make sure to refill it first). This will soak the soil and drive away the earthworm blocking your path, clearing the way forward.

Once the earthworm leaves, a locked door will appear ahead. Just use the key you got earlier to unlock it and head inside.
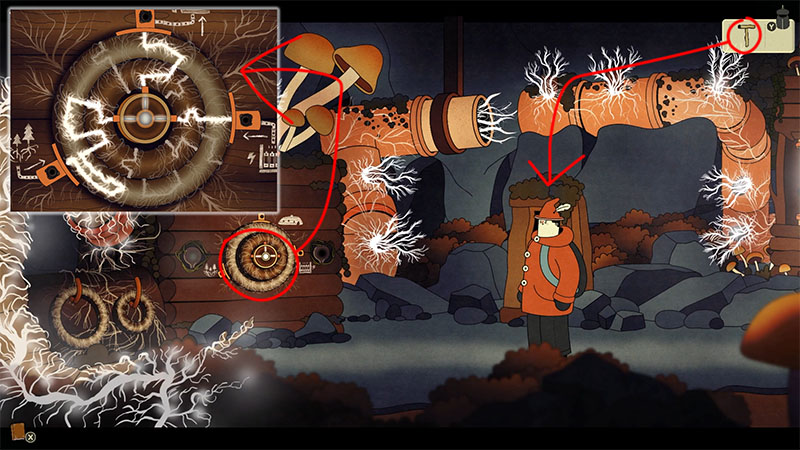
This is one of the trickier parts of Chapter 1: you need to rotate the wheels to power up the circuit.
You can refer to the mini-map in the top-left corner, which shows what the circuit should look like once it’s fully connected.
Once the power is successfully running through, use the wooden lever to make the final connection and activate the pathway.
Once the power is on, the tent in the starting room will open up to reveal an entrance to the basement. Head inside to pick up an uncharged battery and a frog call simulator.
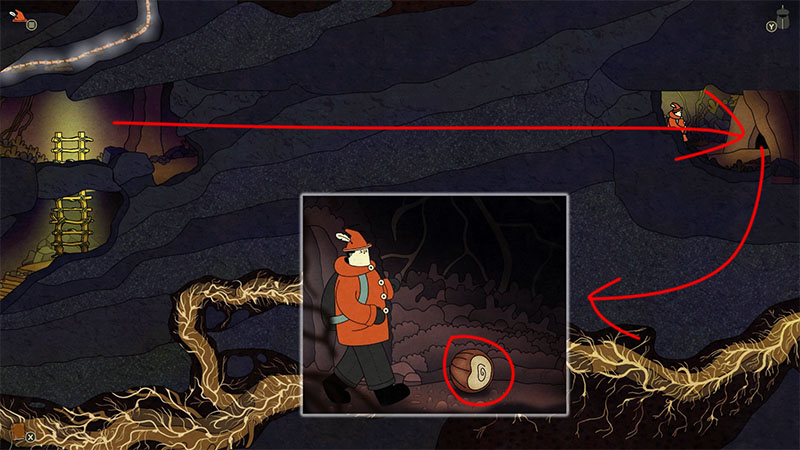
When you’re at the spot in the underground cave where you repaired the ladder, don’t use the ladder.
Instead, head straight to the right and enter the opening on that side. It’s easy to overlook this spot and mistake it for a dead end, but there’s actually a hidden path here.
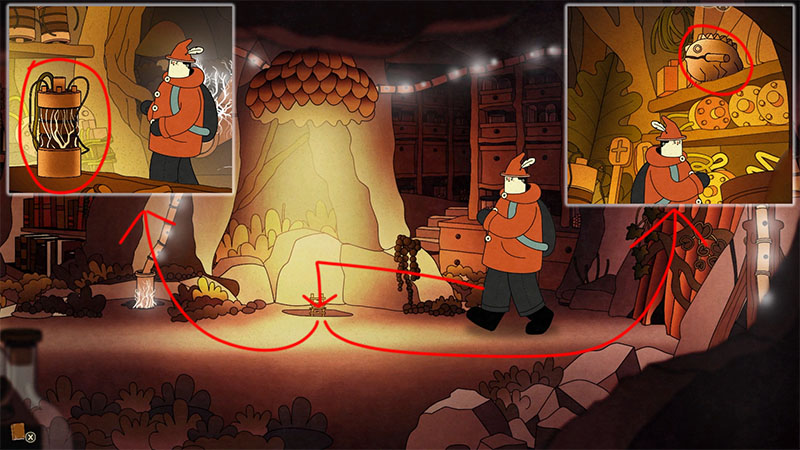
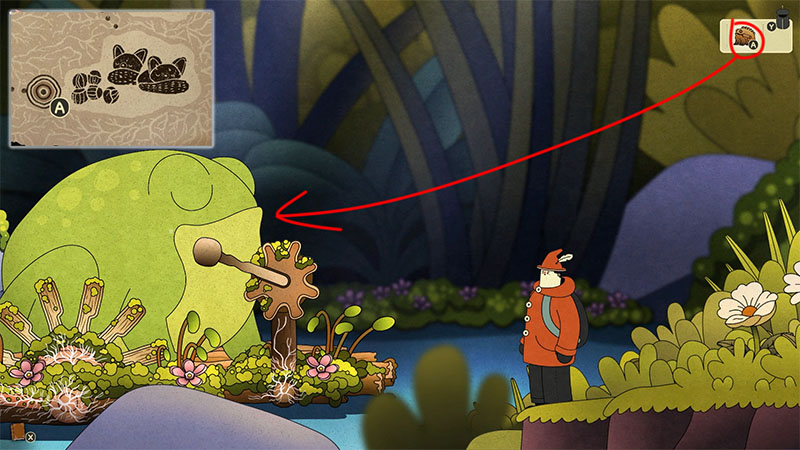
Once you enter the room, you can pick up the squirrel’s food.
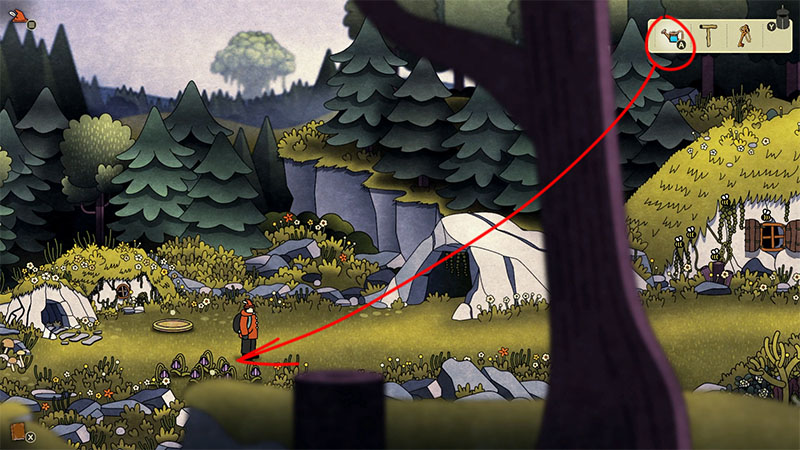
Head back up to the surface where you watered the flowers earlier and place the squirrel’s food on the dish to lure the squirrel over.
One detail I didn’t capture in a screenshot: just like the earthworm, the squirrel will block your path, and you’ll need to use different items to lead it away.
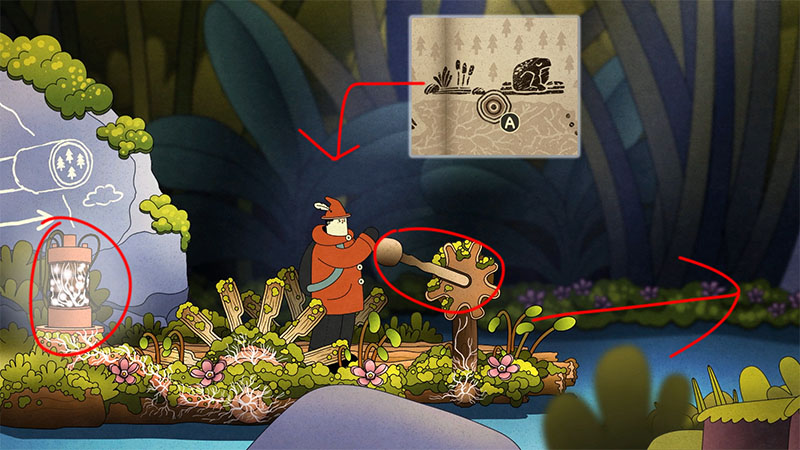
This room was originally blocked by the squirrel, but once you lure it away, you’ll be able to access the controls. First, fully charge the battery, then take it out and keep it in your inventory for later.
The battery is a key item that you’ll need throughout the game.
Now that you have a fully charged one ready to go, head straight to the frog area and slot it into the battery dock on the raft.
The battery is now installed, but the raft controls are still blocked by the frog. Follow the path shown in the diagram to loop around to the other side of the frog, then use the frog call simulator to lure it away.
Head back to the raft area. If you haven’t installed the battery yet, make sure to slot it into the dock first, then pull the lever on the controls to sail to the next area.

As mentioned earlier, the battery is a crucial item in this game.
Once you arrive at the new area, make sure to remove the battery from the raft and bring it to the elevator, where you’ll slot it back in to restore power.
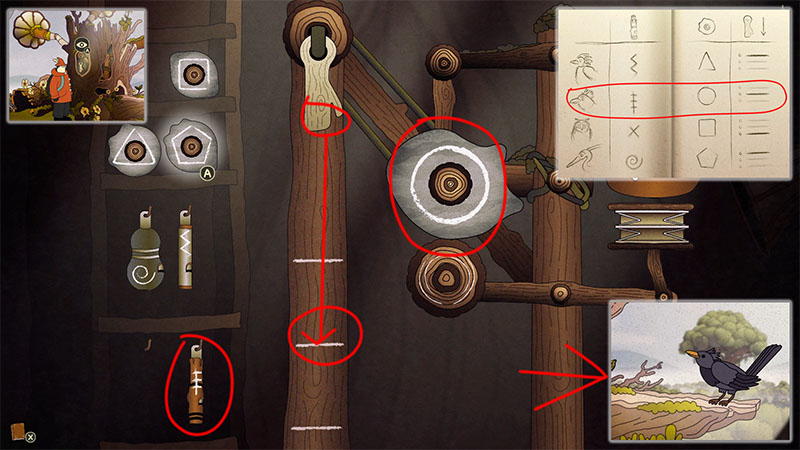
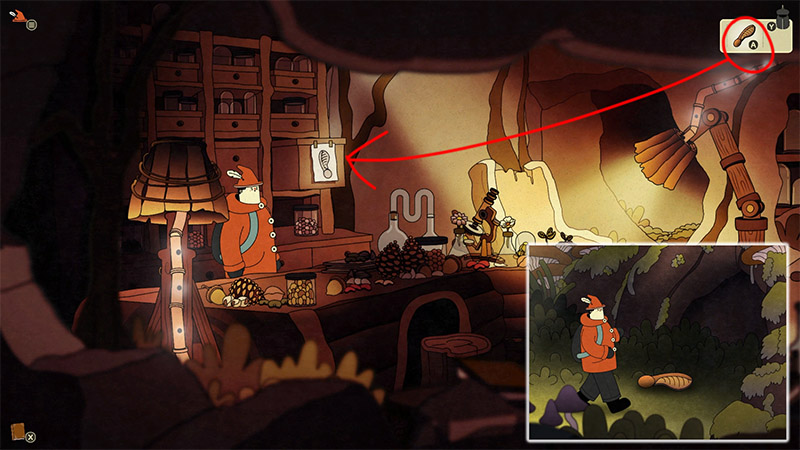
After taking the elevator up to the third floor, you’ll encounter a puzzle where you need to mimic bird calls based on clues to summon a bird.
I’ve circled the key information in red in the screenshot below—just follow those visual cues to solve it.
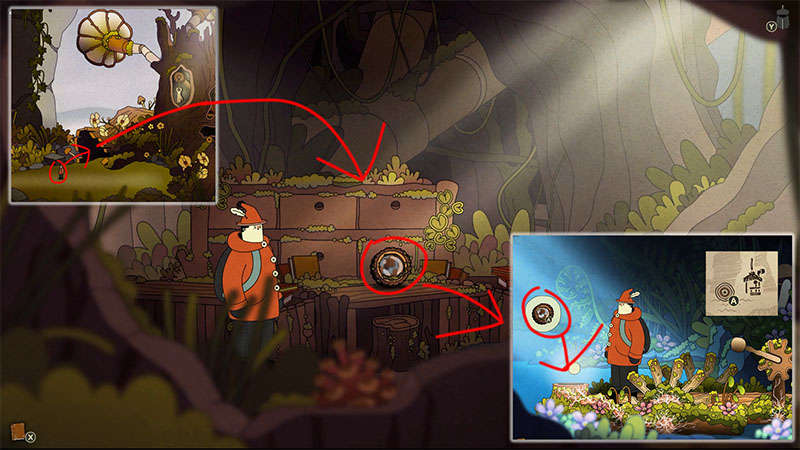
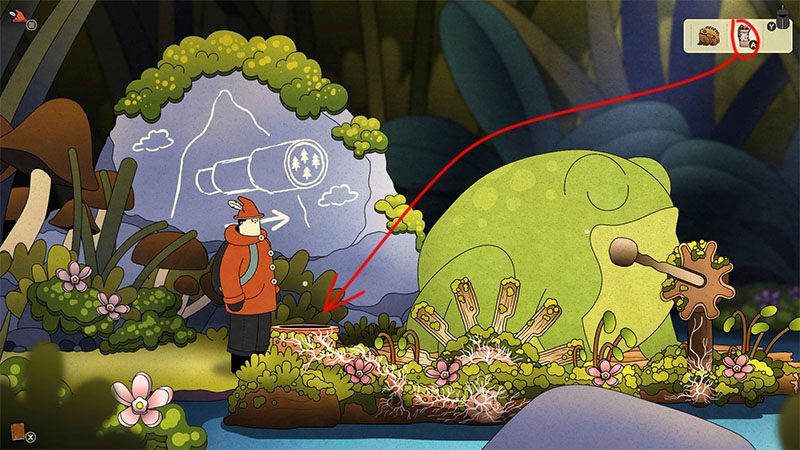
There’s a small tree hollow next to the bird call simulator. Head inside, and you’ll find a telescope lens in the room.
However, the lens is dirty, and looking through it right now will just give you a blurry view. You’ll need to head back to where the raft is docked to wash it clean before you can use it later.
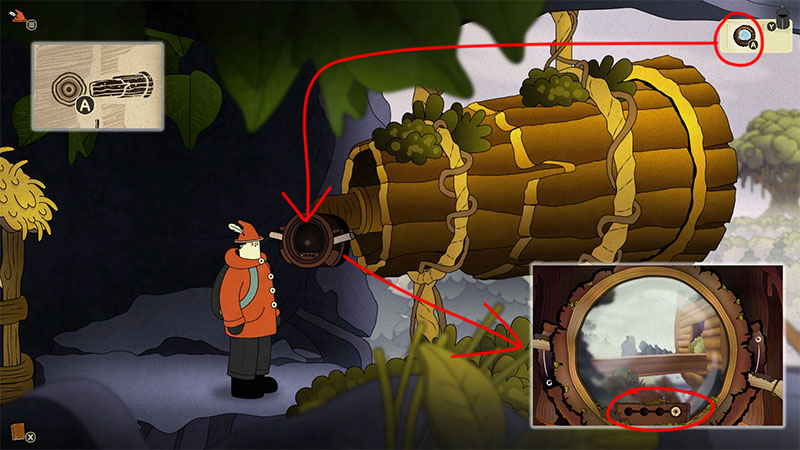
Take the elevator to the second floor and install the freshly cleaned telescope lens.
Look through the telescope and switch to the fourth scene to trigger a cutscene, where you’ll see a giant loading chopped logs onto a boat.
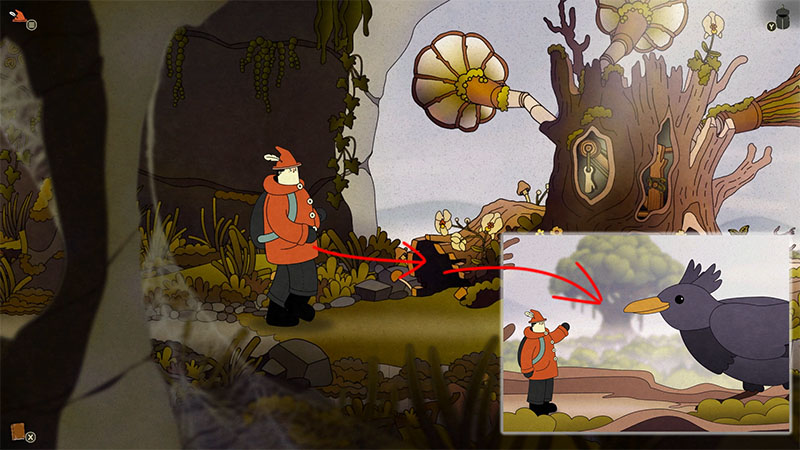
Remember that small tree hollow next to the bird call simulator? Just switch directly back to that scene, head inside, and talk to the bird to trigger the chapter transition cutscene.
With that, Chapter 1 comes to an end!
Episode 2: [The Guardian of Nature Full Walkthrough: Episode 2 – Power Dial Puzzle Guide]
Note: If you’re just reading through the text, the steps might seem a bit disjointed, but everything will make perfect sense once you look at the actual game scenes alongside the screenshots.
If you ever find yourself lost or unable to spot a location, feel free to explore around a little, or just check out the walkthrough video at the beginning of the article for a much clearer visual demonstration.