⚠️Content Warning: While the screenshots in this guide are safe, the embedded YouTube gameplay video contains violence, gore, and horror themes typical of the Resident Evil series. Viewer discretion is advised for the video content.
This guide covers the late-game and ending of Resident Evil: Requiem, based on MKIceAndFire’s full playthrough.
This walkthrough starts at timestamp 3:59:34
Note: For the first 4 hours of the game, please read our Part 1 Guide here: [Click to View]
Support the original creator: Visit MKIceAndFire’s YouTube Channel for more high quality gameplay.
Note on Leon’s Section
This part of the game focuses heavily on combat. Feel free to play to your own style and take down enemies as you see fit. Since there are very few puzzles in this segment, we won’t list them in detail here. However, if any critical puzzles are encountered, they will still be included below. Just keep moving and fight your way through!
Grace’s Perspective
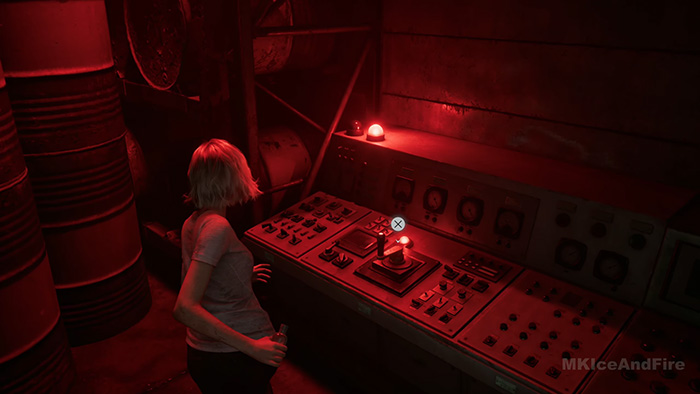
Grace and Emily reach the Underground Facility. To proceed, you must reactivate the 3 power distribution units in this area.
Used for editorial and informational purposes only.
First Power Switch Location: 4:02:59
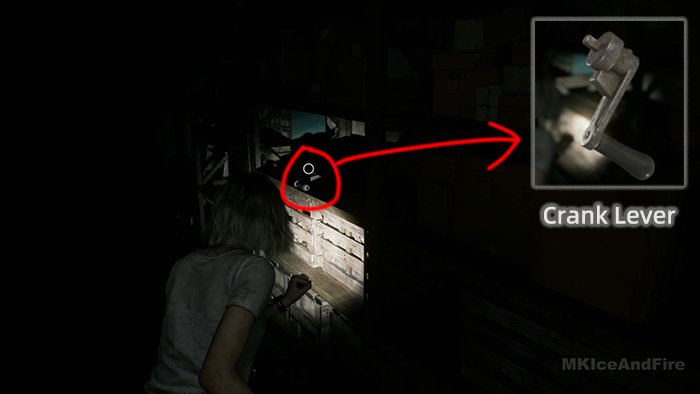
4:03:43 – Obtain the Crank Lever from the shelf.
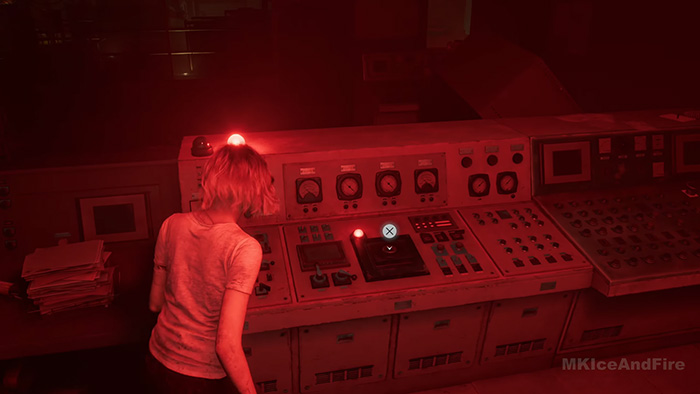
Second Power Switch Location: 4:04:52 – Use the Crank Lever to restore power.
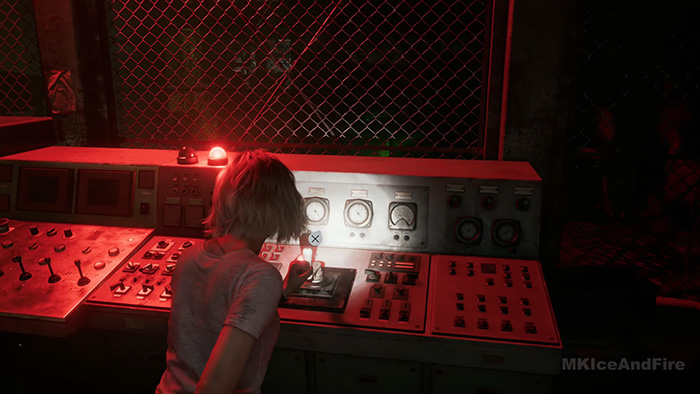
Third Power Switch Location: 4:05:52
A Zombie Boss will block your path here. Use the high-intensity lights to buy yourself time, then quickly activate the Third Power Switch.
Leon’s Perspective
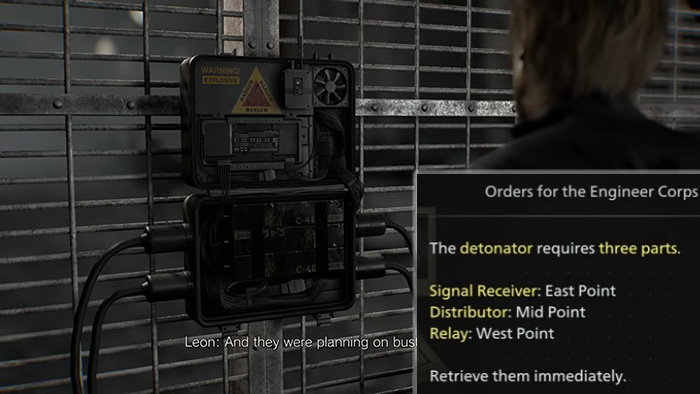
Objective: Retrieve 3 parts for the detonator.
Locations:
1-Signal Receiver: East Point
2-Distributor: Mid Point
3-Relay: West Point
You can obtain the Tactical Tracker at the old BSAA camp.
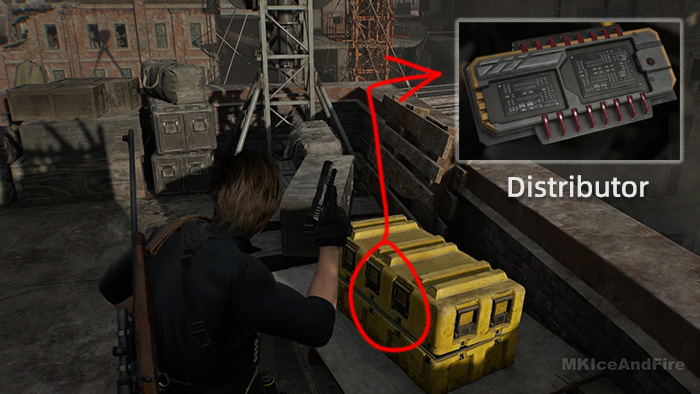
4:46:11 You can obtain the Distributor inside a yellow crate on the rooftop.
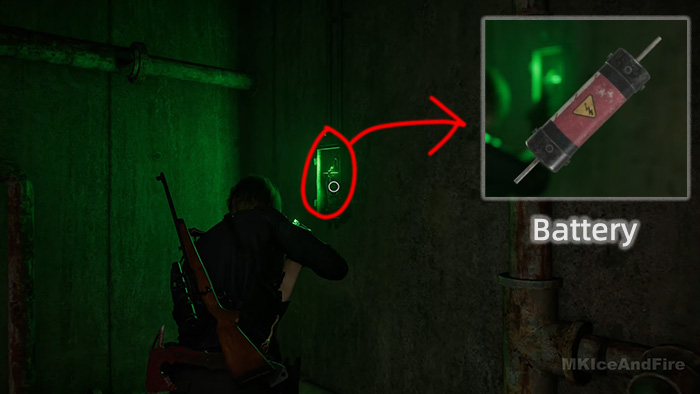
4:57:21 Obtain the Battery(the first one) needed to open the gate.

5:03:28 – Obtain the second Battery needed to open the gate.

5:48:04 – After an intense battle, finally obtain the second part: the Broken Signal Receiver.
Combine the initial parts and use a Repair Kit to obtain the Distributor & Signal Receiver.
The Repair Kit can be found in the shipping container with the motorcycle.
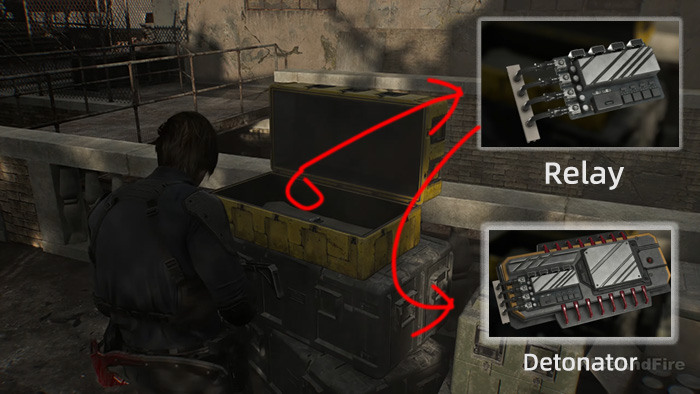
6:05:36 – Finally locate the third part, the Relay. Combine it with the other components to craft the complete Detonator.
Return to the main gate, install the Detonator, and trigger the explosives to blast open the door and proceed.
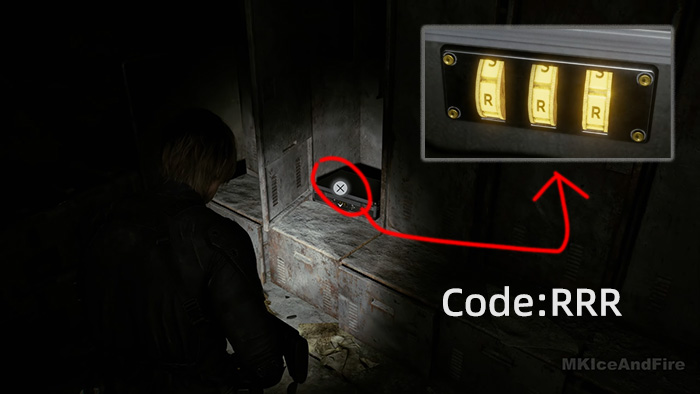
6:38:09 The briefcase code in the Police Station is: R – R – R.
Open the crate to obtain the Power Shades Charm.
Effect 1: Limitless bullet penetration (Bullets can go through multiple enemies).
Effect 2: Increases firepower of the last bullet in the cylinder.
Grace’s Perspective
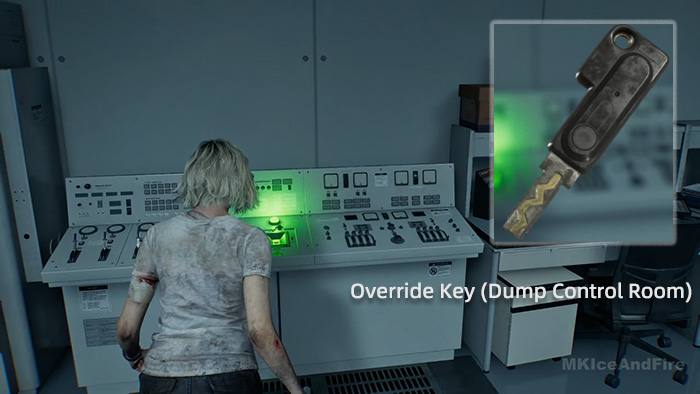
7:51:44 Obtain the Override Key. This power activation key will restore electricity to the Dump Control
Return to the Control Room to operate the crane. This will allow you to obtain the Magnetic Key, which is required to open the electronic doors.
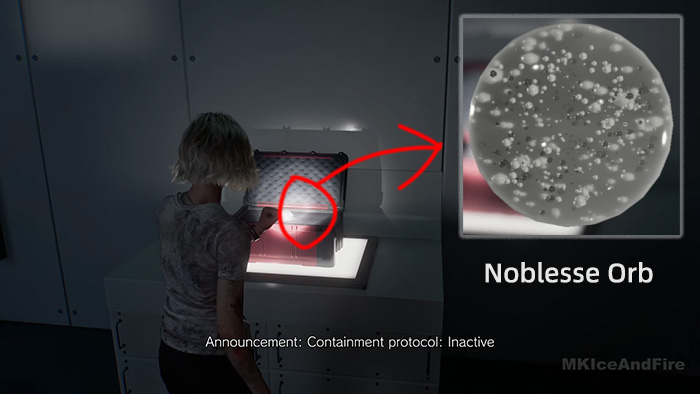
7:59:51 Collect the Noblesse Orb( 1st ), a required item to enter the ARK Administration Area.
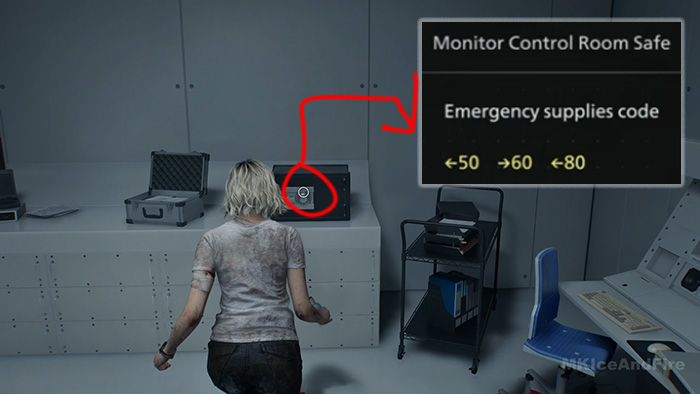
8:03:30 Safe Code: Turn Left to 50, then Right to 60, and finally Left to 80.
Opening this safe gives you meds.
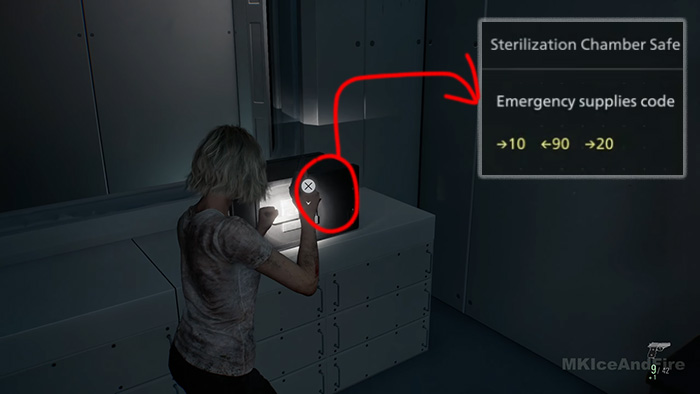
8:05:14 In a different room, the second safe combination is: Turn Right 10, then Left 90, and finally Right 20.
This one has meds and ammo

8:05:58 Find the Animus Orb (2nd) in this room. With both orbs collected, you can now open the main
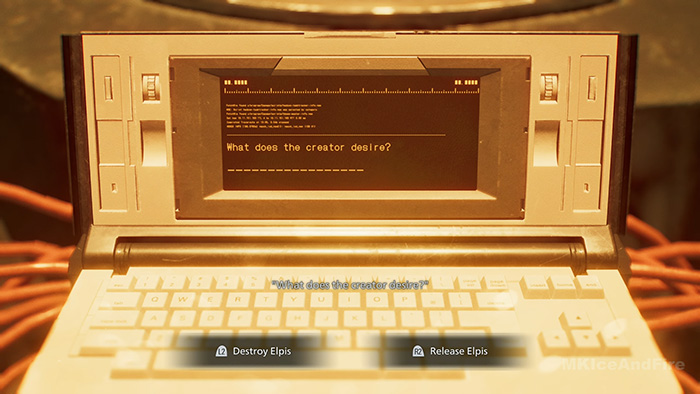
What’s your choice?