Video sourced from the GAMEAY YouTube channel. © 2026 iWorlds.
This is a walkthrough for the Dark Trip Demo, including videos, diagrams, and written descriptions.
Some Stages in Dark Trip have two paths: Normal Mode and Hallucination Mode. The puzzles differ slightly, so I’ll indicate which mode each stage uses in the subheadings.
Stage 1: Log Cabin
Get the code on the left (the code is randomly generated, so exact numbers are not listed here) and the key on the right, then use them to unlock the box on the table. Next to the box, there is a walkie-talkie you can pick up.
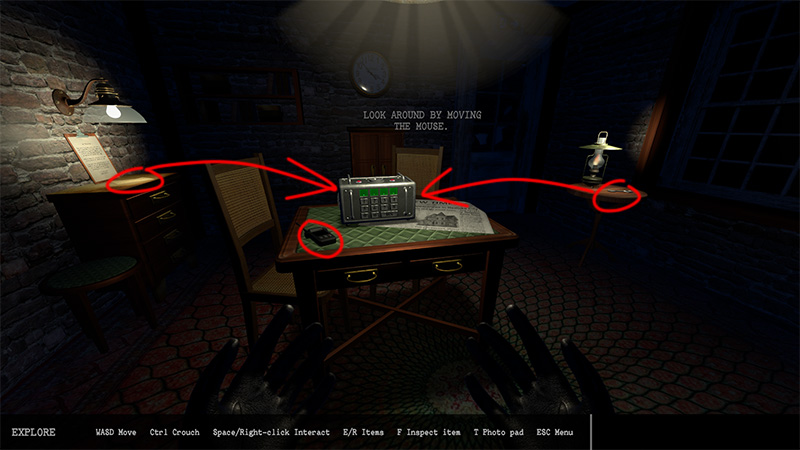
Used under fair use for commentary, criticism, and educational purposes.
Inside the box is a diary. Once you pick it up, a pill bottle will appear in the box. Pick up and take the medication, and the door to the room will open. Simply head out to clear the stage.
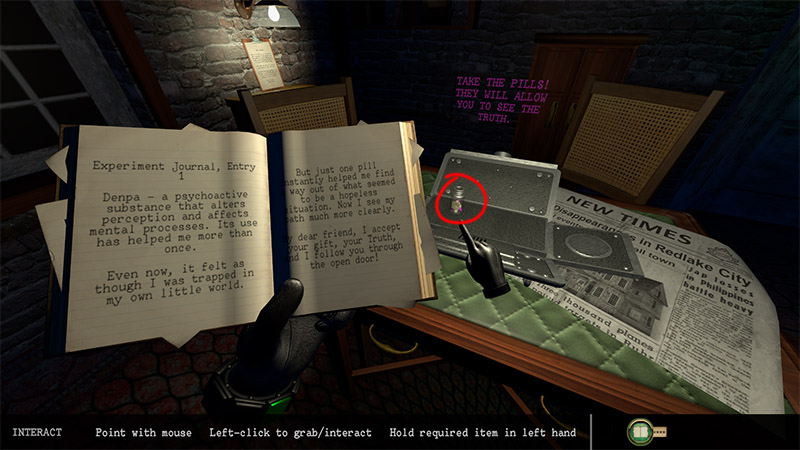
Story Clues (3/3)
First collectible: Inside the second drawer of the cabinet where you found the code.
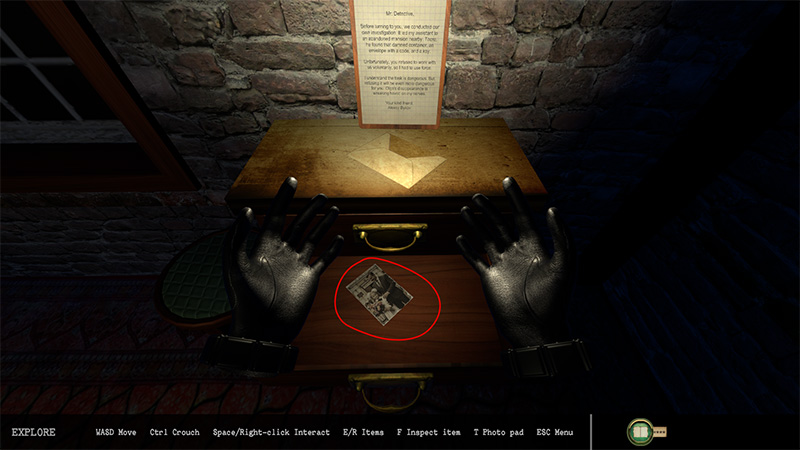
Second collectible: In the right drawer of the table with the lockbox on top.
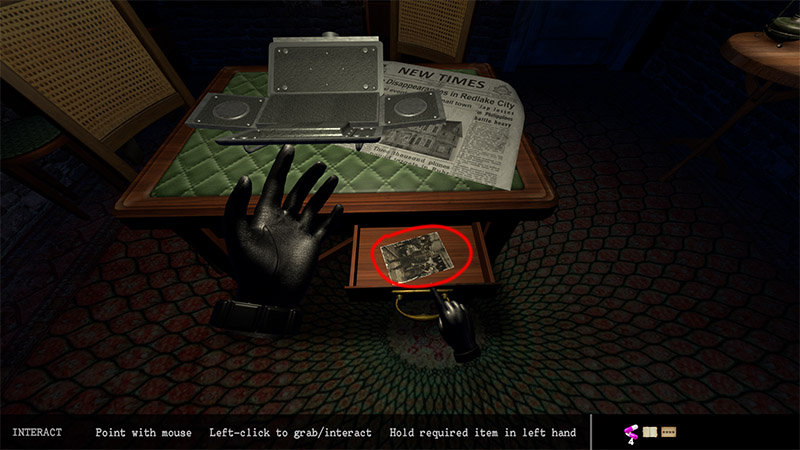
Third collectible: In the cabinet to the left of the door while in Hallucination Mode (invisible in Normal Mode; this applies to future rooms and will not be explained again).
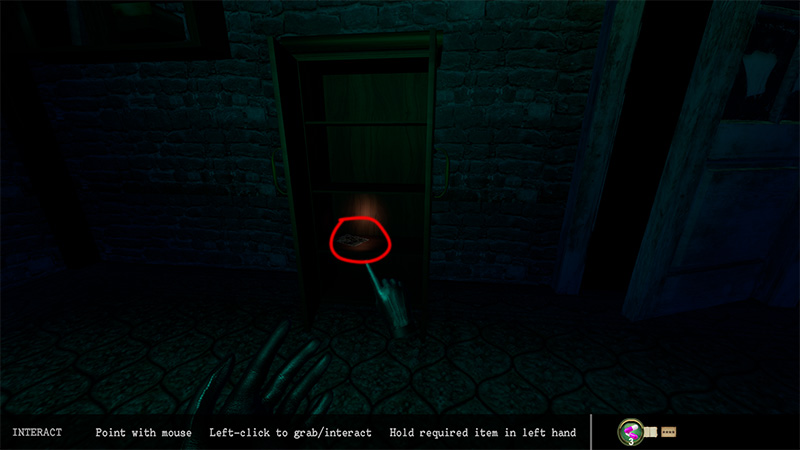
After Collecting All Clues
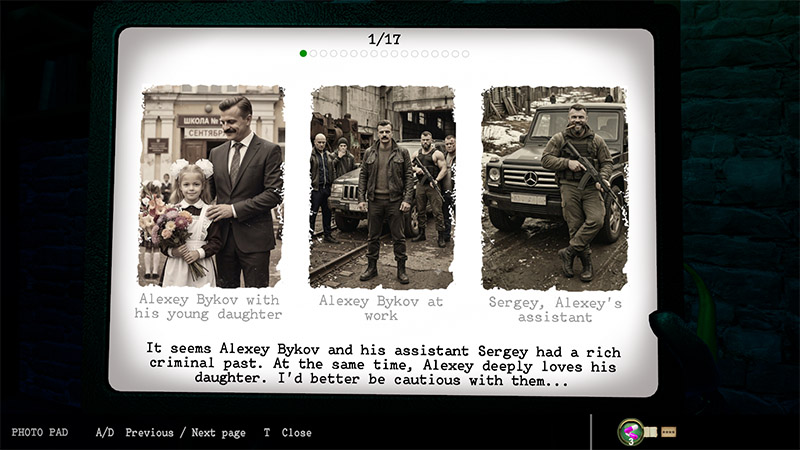
Stage 2: Main Gate
Normal Mode: Opening the Main Gate
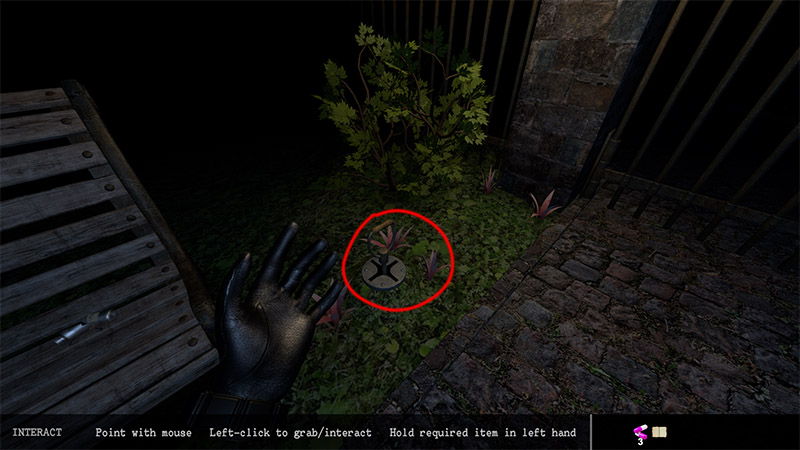
Pull up the switch on the floor next to the chair to make the power supply box pop up from underground.
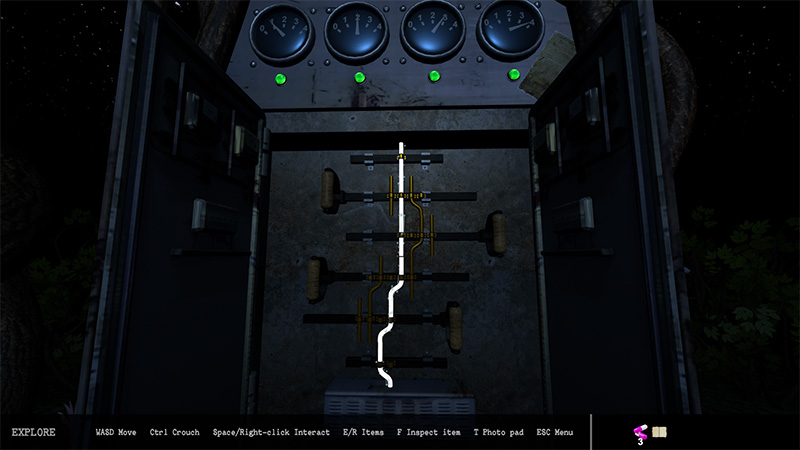
Open the door of the power box and move the mechanism inside left and right to connect the power.
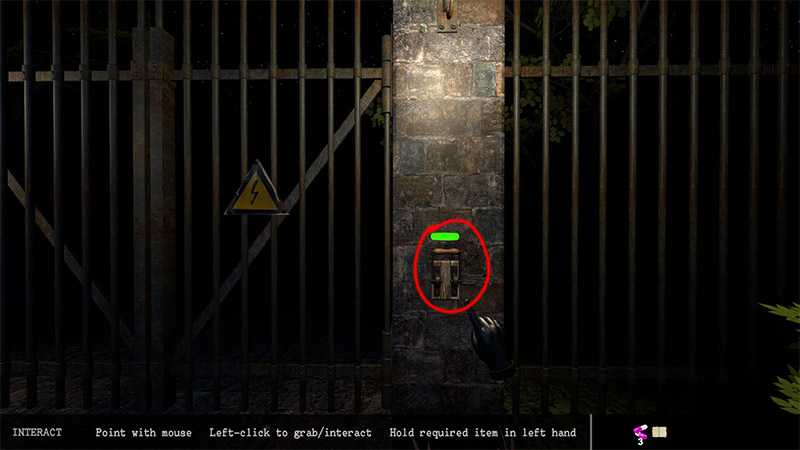
Activate the switch on the right side of the gate to open it and clear the level.
Hallucination Mode: Opening the Main Gate
- Steps: Same as Normal Mode, except the power box turns into a statue.
- Puzzle Solution: Turn the wheels under the statue so that the skulls’ eyes point directly at the gate.
- Completion: Once all the skulls’ eyes are facing the gate, it will open automatically—simply walk through.
Story Clues (3/3)
- First collectible: On the bench to the right; pick up directly.
- Second collectible: Right side of the power box gauge (if missing, flip the switch by the bench first to reveal the power box).
- Third collectible: In Hallucination Mode, the power box transforms into a statue—the photo is on the statue.
After Collecting All Clues
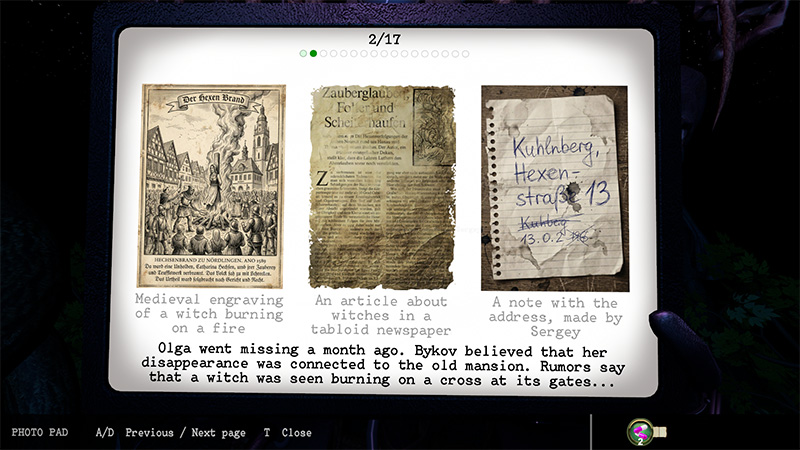
Stage 3: Front Yard
You can get the Hook at the pond and the Carabiner at the doghouse.
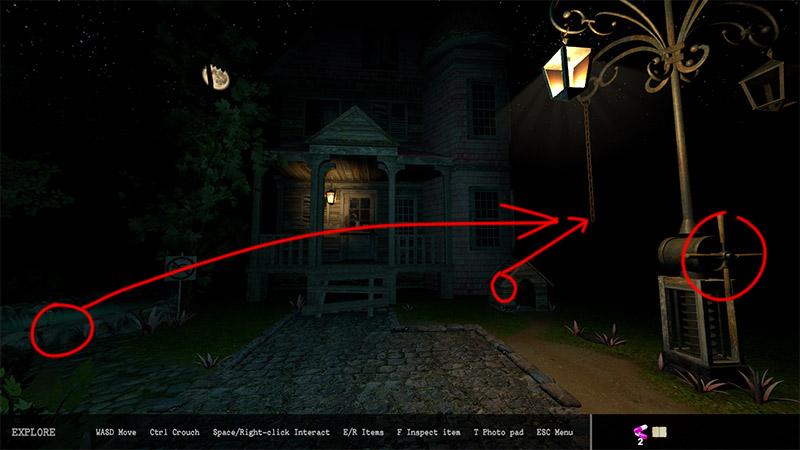
Turn the wheel on the lamp post to lower the chain.
Attach the Carabiner to the chain, then use the Hook to connect the chain to the device on the ground.
Turn the wheel again to raise the chain and pull up the device—inside, you will find a key and a clue photo.
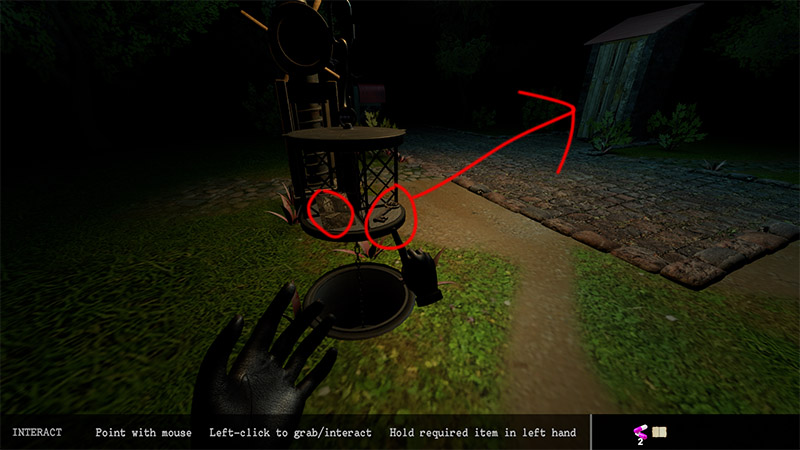
Use the key you just got to unlock the Storage Shed door. Inside, you’ll find a pair of Wire Cutters.
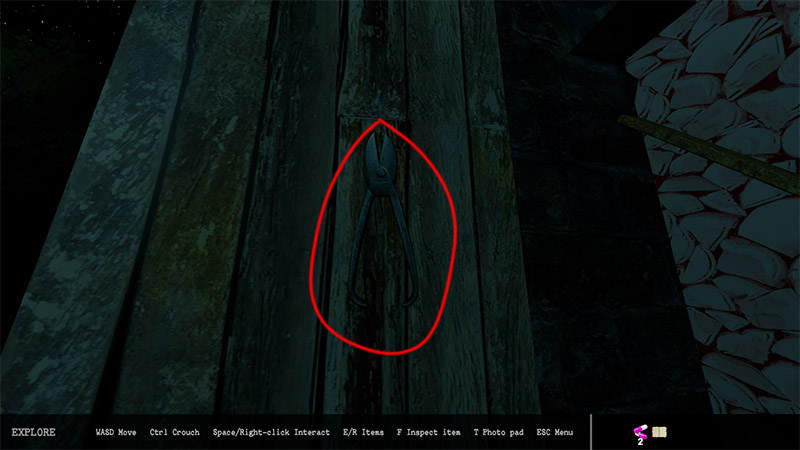
Use the Wire Cutters to cut the lock on the front door and enter the house to complete this stage.
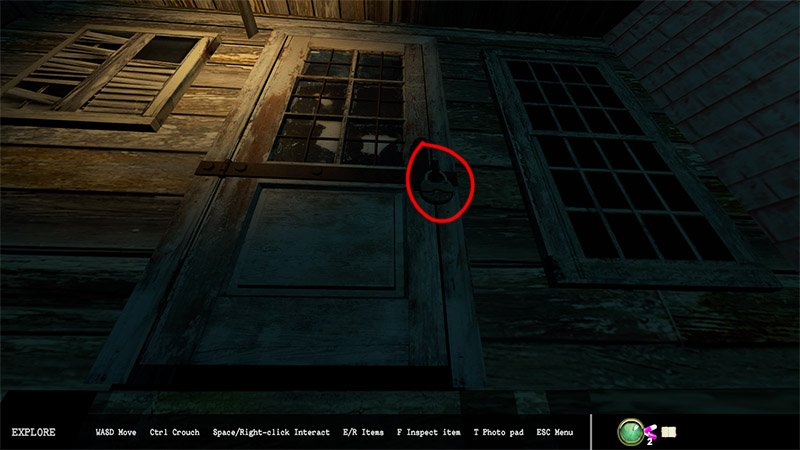
Hallucination Mode: Front Yard
The hallucinatory mode features the same items and overall progression as the normal mode.
The only difference is that the Storage Shed is replaced by a statue—as you approach it, the statue bends down, holding the Wire Cutters in its hand.
Story Clues (3/3)
- First collectible: Found inside the device raised by the chain.
- Second collectible: Found inside the red Mailbox to the right of the lamp (open it to collect).
- Third collectible: In Hallucination Mode, found on the corpse lying on the ground.
After Collecting All Clues
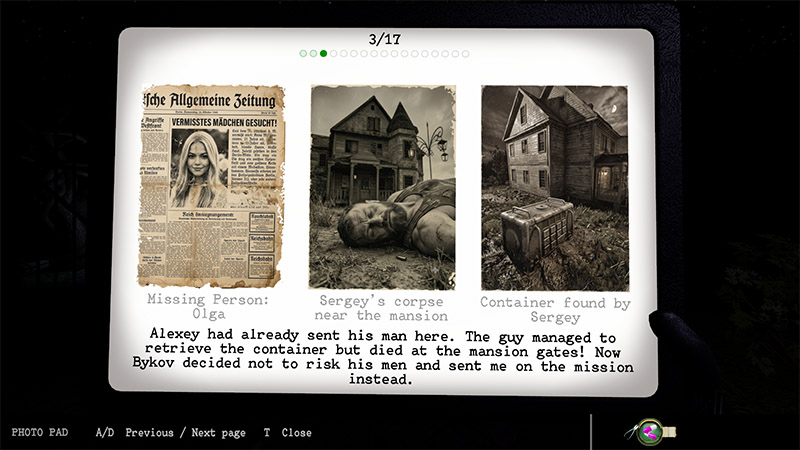
Stage 4: Power House
Pick up the Matches on the glowing table, light the Lamp on the right side of the table, and collect the Clue Photo next to it.
Open the drawer to obtain a Key.
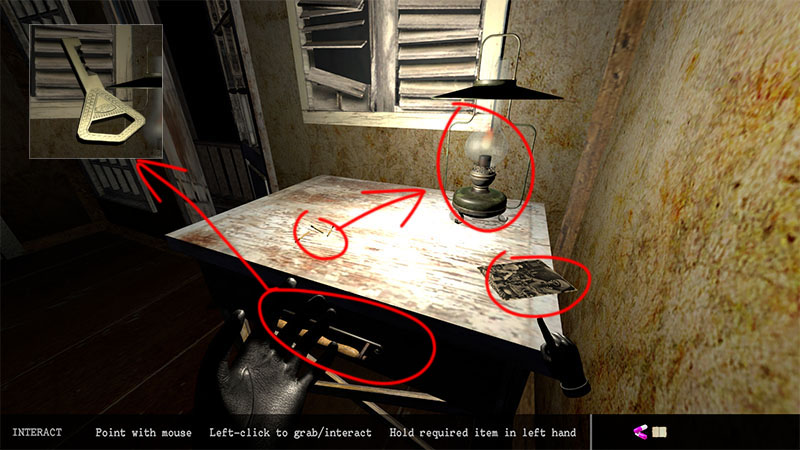
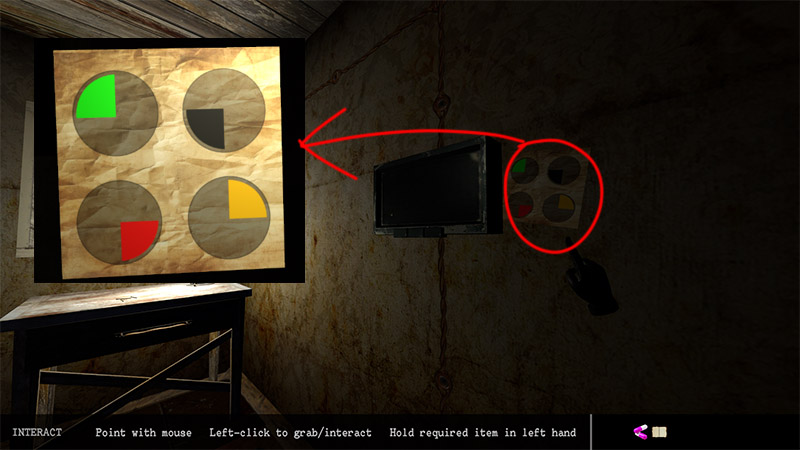
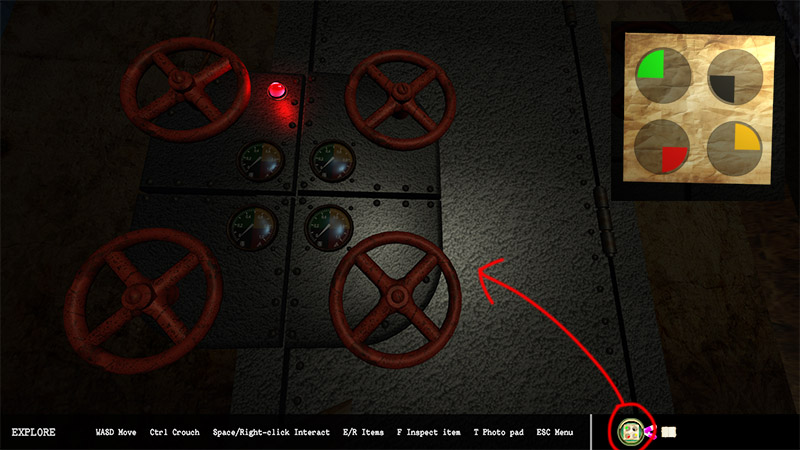
On the wall next to the table, beside the monitor, collect the Valve Puzzle Clue for later use.
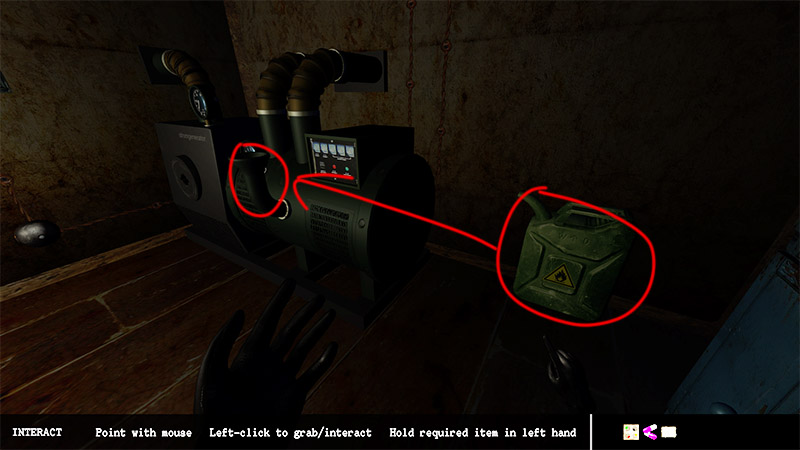
Pick up the Gas Can next to the generator and pour the fuel into the Generator.
Use the Key to unlock the middle compartment of the cabinet to the left of the four valves, take the Hand Crank, and use it to start the Generator.
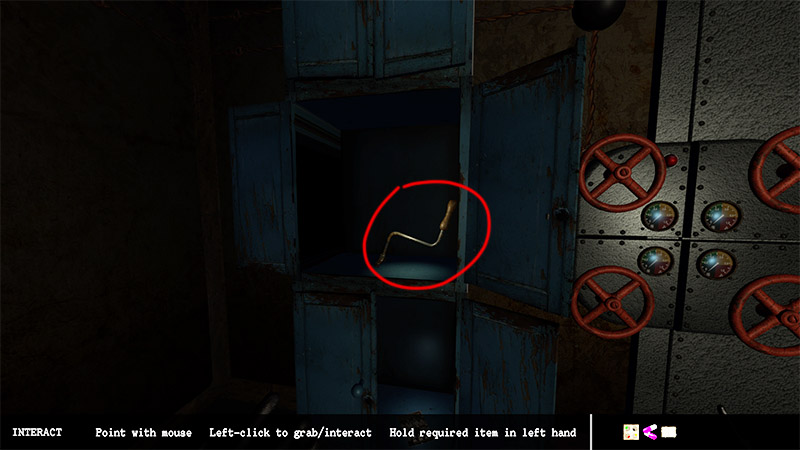
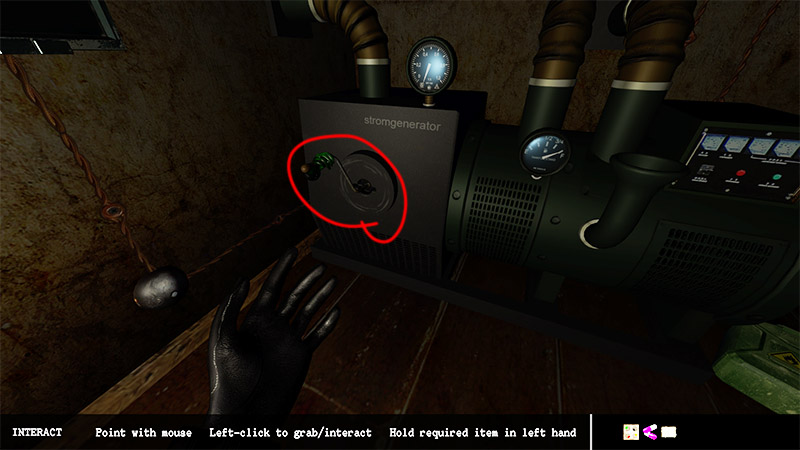
Turn the Hand Crank to start it, and release it once you hear the engine sound—the power for the entire room will now be restored.
Based on the Valve Puzzle Clue, turn the valve meters so their needles point to the corresponding colored sections. Open the door and enter to complete this level.
Story Clues (3/3)
- First collectible: Pick up from the lighted table.
- Second collectible: Open the bottom compartment of the cabinet to the left of the four valves to get it.
- Third collectible: In Hallucination Mode, collect it above the wall display showing the time.
After Collecting All Clues
Note: Edited game screenshot.
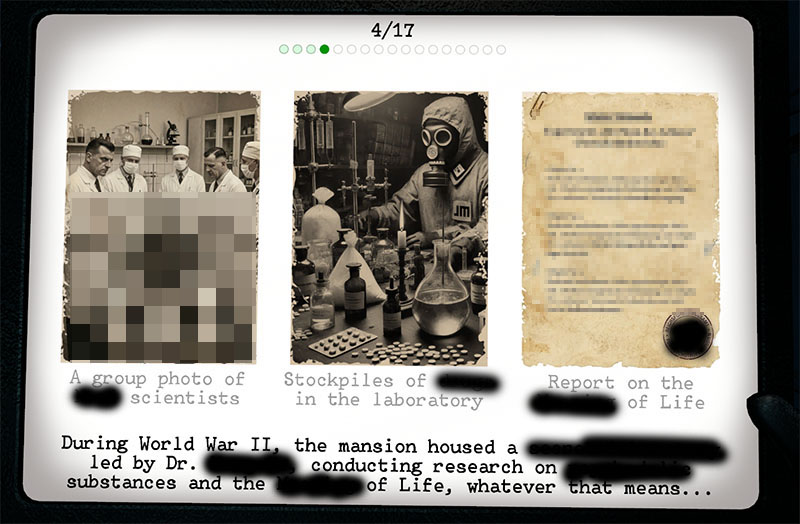
Stage 5: Control Room
There are three Circuit Boards and a Clue Photo in the room, all clearly visible. Collect them first.
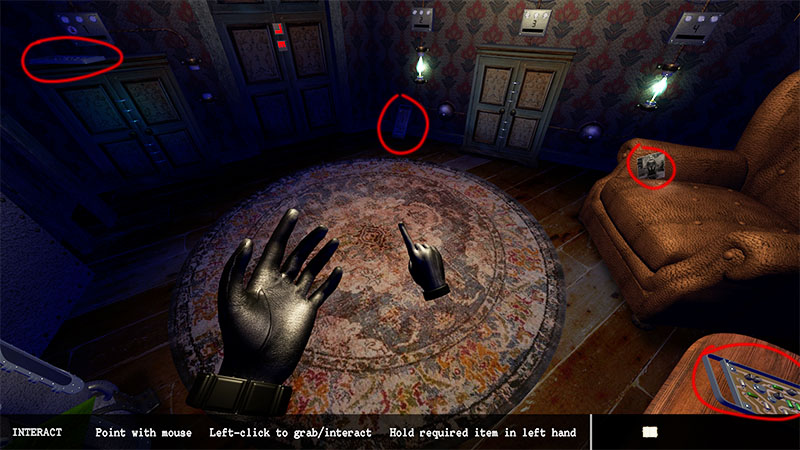
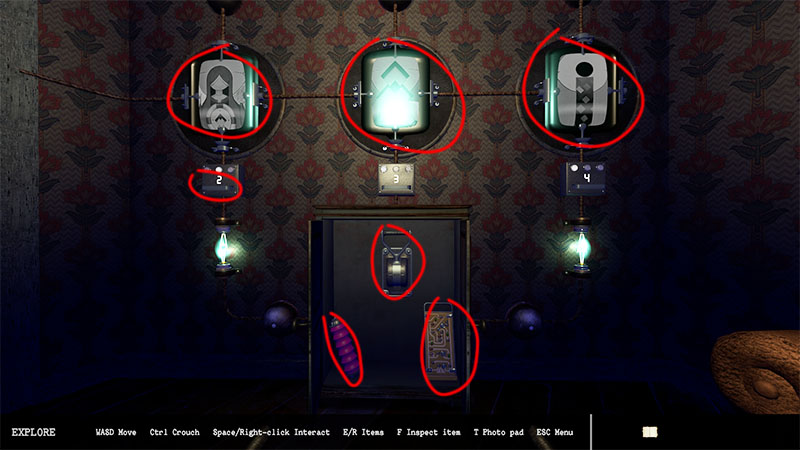
Insert the circuit boards into the wall controller according to their corresponding numbers.
Switch all monitors to display the unfamiliar pattern.
Once done, the cabinet below the monitors will unlock.
Open it to obtain a Pink Object and the Fourth Circuit Board.
Pull the switch inside the cabinet.
Insert the fourth circuit board into the controller in the corner of the room.
Switch the monitor to display the unfamiliar pattern as well.
Place the pink object into the jar, then pull the levers on both the pink and green jars.
The plant on the left will open—pick up the transistor inside.
Install the transistor in its designated slot near the corner monitor.
The second cabinet will then unlock.
Flip the switch inside the cabinet to open the main door and complete the level.
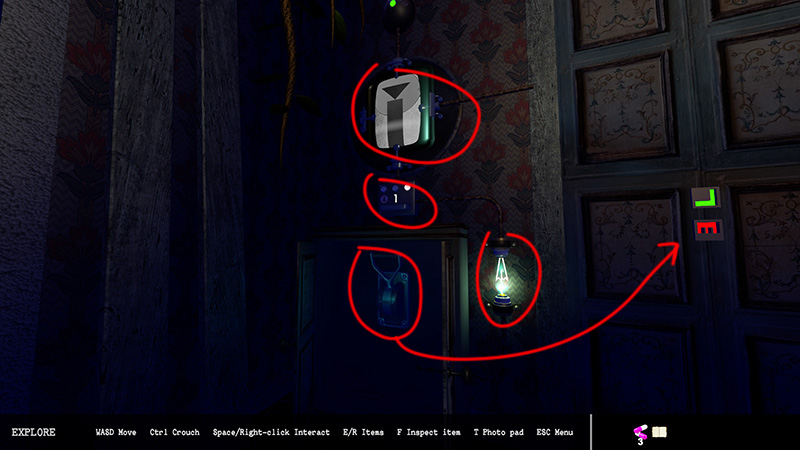
Hallucination Mode: Control Room
In Hallucination Mode, the placement and usage of the circuit board, as well as the pattern to adjust on the monitor, remain identical to Normal Mode.
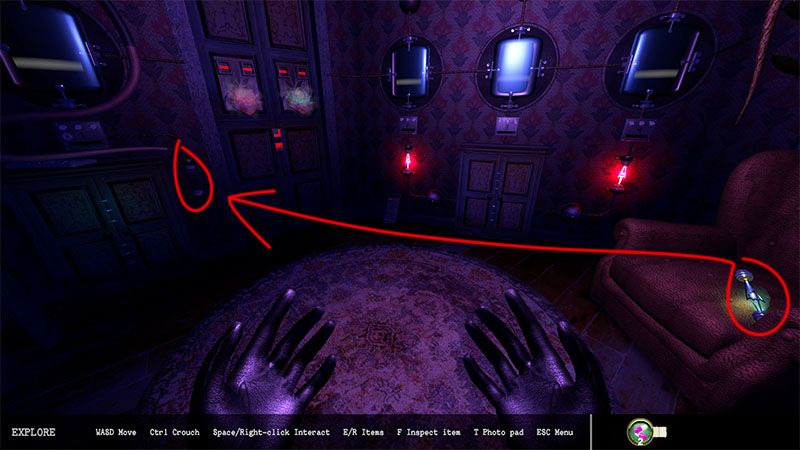
Differences:
- Transistor: Appears directly on the sofa; simply pick it up to use.
- Cabinets below the 3 monitors: Contain the same items as Normal Mode, but the lever switch is gone.
- Cabinet below the standalone monitor: Use the fourth circuit board to open it (same method as Normal Mode) to obtain a blue flower (The blue flower does not bloom by default. You need to operate the vats a few times or wait a moment for it to bloom before you can pick it up).
- Flower crafting: Place the pink item into the jar, press the lever, and activate both the pink and green vats. A red flower will bloom on the plant—pick it up.
- Level Exit: Feed the blue and red flowers to the two mouths on the door to unlock it. Step inside to clear the level.
Story Clues (3/3)
- First collectible: Found on the sofa.
- Second collectible: Found on the plant after activating the pink and green jars.
- Third collectible: In Hallucination Mode, locate the standalone monitor. Open the cabinet directly underneath it, and you’ll find the collectible tucked into the top-left corner inside. The interior is very dark, so inspect it carefully.
After Collecting All Clues
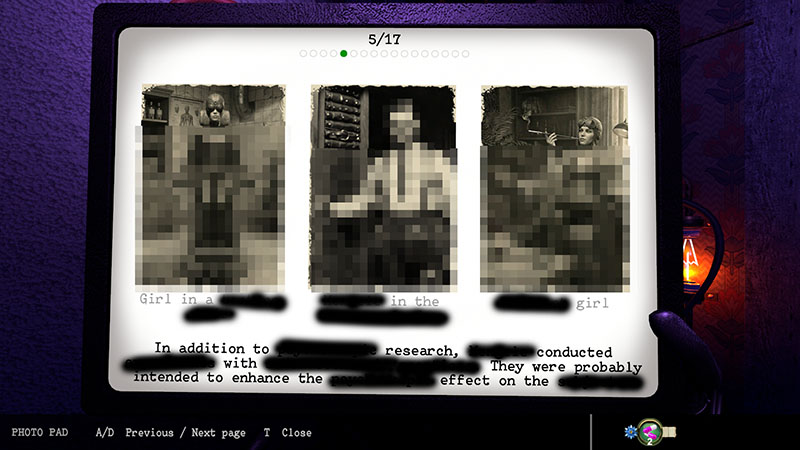
I know, I know. The picture doesn’t look great anymore, but I still decided to include it so players have something to reference for the three clues.
Note: Edited game screenshot.
Stage 6: Media Room
Pick up the Film Reel from the chair next to the phonograph, install it into the projector, and press the red switch to start it.
Pick up the paper note clue from the room’s desk, and open the drawer to get a story photo clue.
Open the bottom drawer to get the vinyl record, then place it on the phonograph.
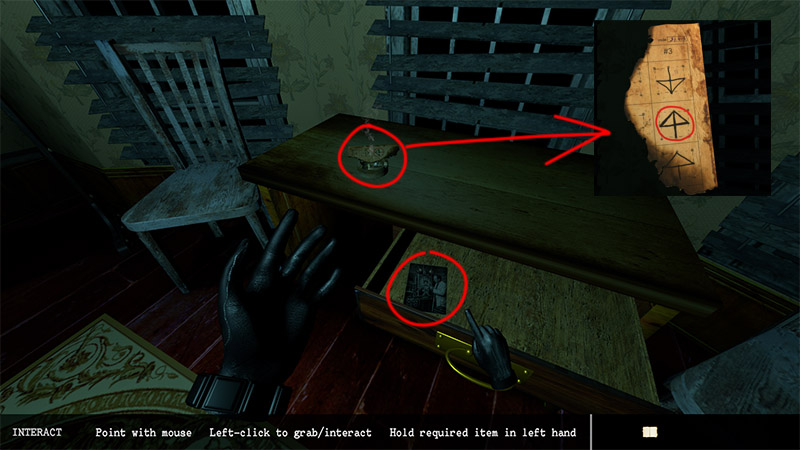
There are three paintings on the wall labeled 1, 2, and 3.
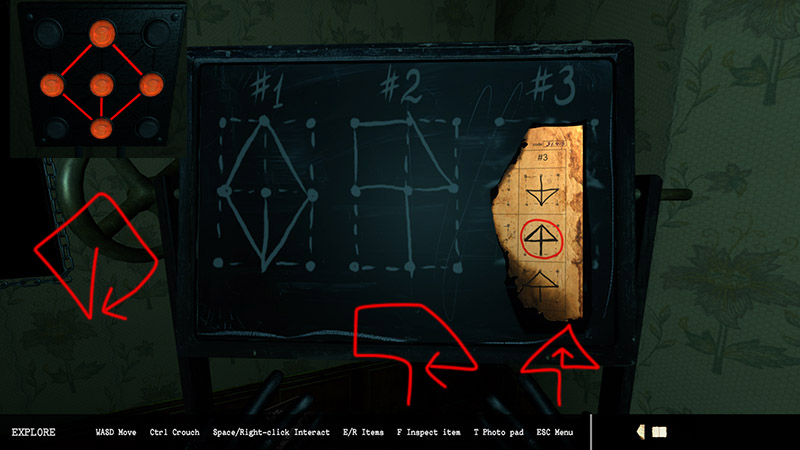
Rotate the blackboard to find two patterns on the back; the third pattern comes from the paper note collected earlier from the desk.
Press the buttons below the paintings in order based on these three patterns to illuminate the artwork.
Refer to the screenshot for the exact activation sequence, which has been drawn directly on the image.
Turn the crank to start the phonograph, then wait a moment for the elevator to descend. Step inside to complete the level.
Note: Elevator activation condition — Requires simultaneously activating the three wall paintings, the movie projector, and the gramophone.
Story Clues (3/3)
- First collectible: In the drawer of the table with the ashtray.
- Second collectible: On the shelf beneath the blackboard.
- Third collectible: In Hallucination Mode, on the chair next to the blackboard.
After Collecting All Clues
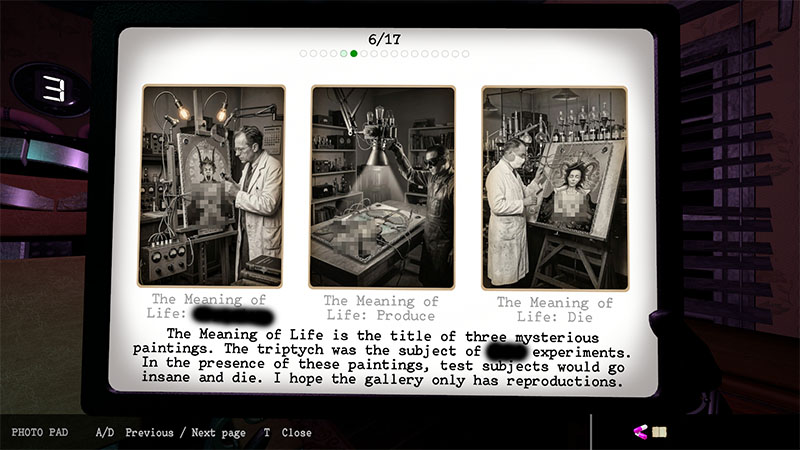
Note: Edited game screenshot.
Stage 7: Inside the Elevator
Remove the light bulb from the broken lightbox painting, pick up the hammer on the floor, and use it to smash the other lightbox painting to get the second light bulb.
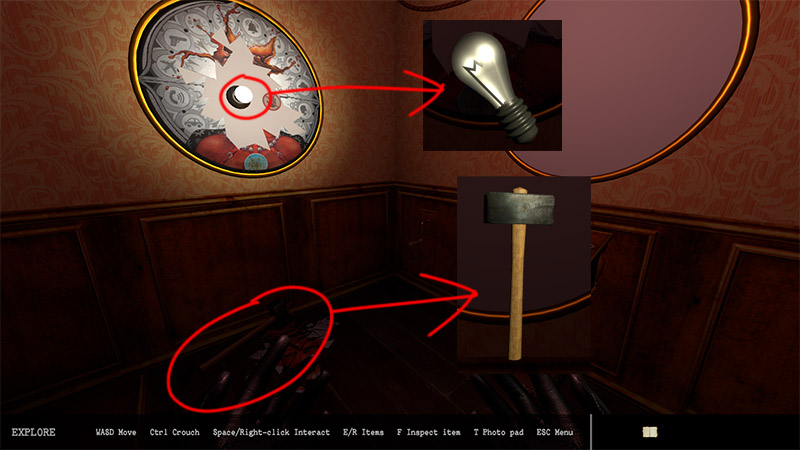
Install both light bulbs onto the skull. A glowing object will appear on the floor—pick it up and attach it to the skull as well.
Use the cranks on both sides of the keyboard to overlap the two light rings projected from the skull’s eyes onto the center frame. This will reveal a four-letter word—type these four letters on the keyboard to start the elevator.
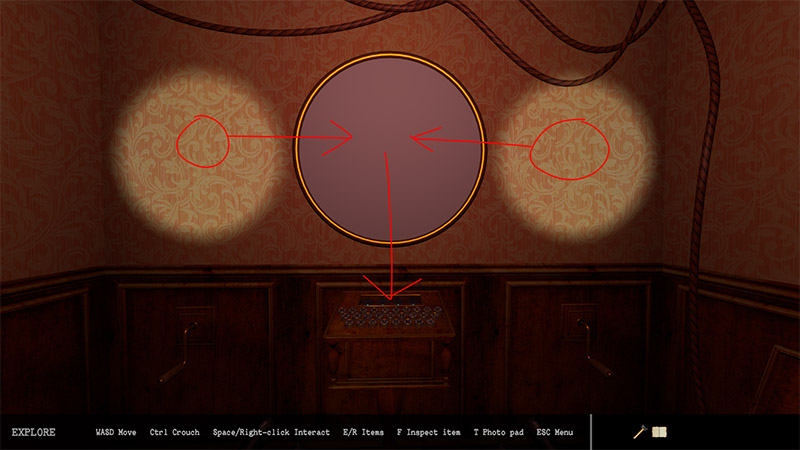
During the ride, the elevator will lose power. Place the hammer at the short circuit to restore power and restart the elevator.
This completes the level and concludes the DEMO.
Dark Trip Playtest: Immersive Gothic Art VR Puzzle
Note: This walkthrough is based on the DEMO version and may differ from the full game.
About the Author